It’s been a couple of years since I built my Boba Fett suit, but over the last few weeks I’ve been working on a jetpack. There’s a reason that I put this part off – it’s an incredibly difficult part to build from scratch. But since the unpainted resin kit costs $350, I chose to make the pack out of sintra and upholstery tubing which I managed to pick up for free. Other than that, it was just the cost of Bondo, spray paint, some wooden balls, liquid mask, and a few wooden dowels.
This was my first time to do something so elaborate, but I’m very pleased with the results.
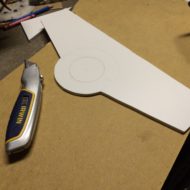
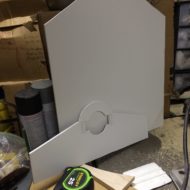
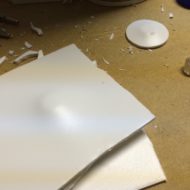
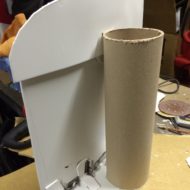
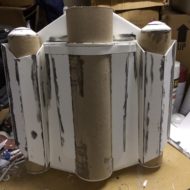
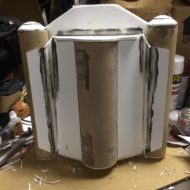
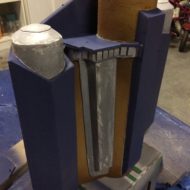
Cutting out the bottom from 1/4″ sintra. First time to work with this material, and I love it.
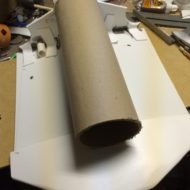
Back of jetpack also cut from 1/4″ sintra
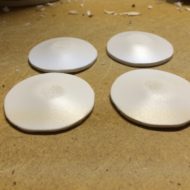
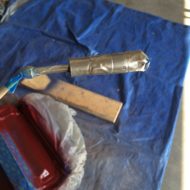
I decided the easiest way to make these was to heat a 1/8″ piece of sintra and press it down on a small piece of tubing (shown on the right).
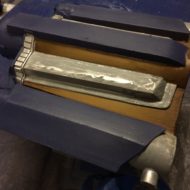
Finished fuel canister ends
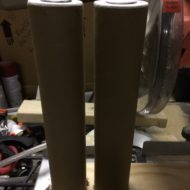
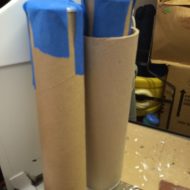
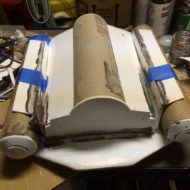
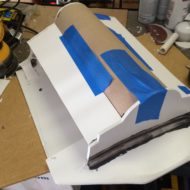
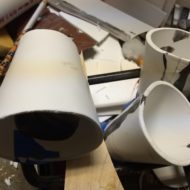
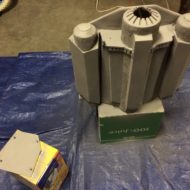
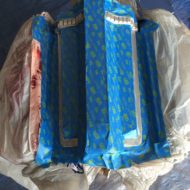
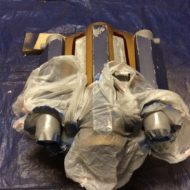
Cardboard tubes (from tapestry shop) cut to length and bottoms capped
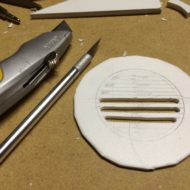
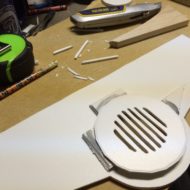
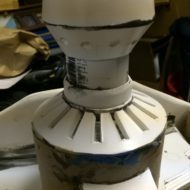
Carefully cutting out the vent slots
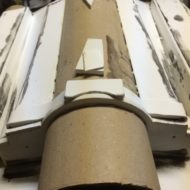
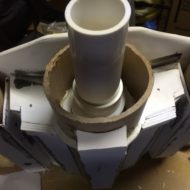
The bottom exhaust vent applied with spacers.
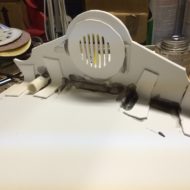
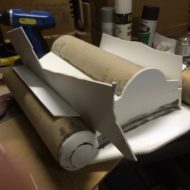
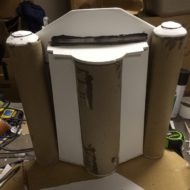
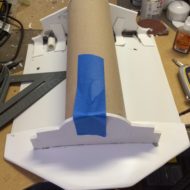
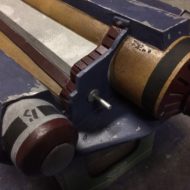
Attaching the bottom to the back using pvc glue. The small piece of pipe was my first attempt, but then I decided to cut some small pieces of sintra, heat them, and form them to a 90 degree angle then use them as brackets.
I used another piece of sintra to thicken this area at the top of the pack.
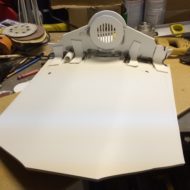
Checking the fit. Getting ready to trim off the edge of the sintra to match the back.
Attaching the fuel caps with Gorilla Glue.
Fuel caps with the ends attached using pvc.
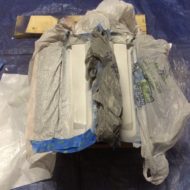
Holding pieces in place while they dry.
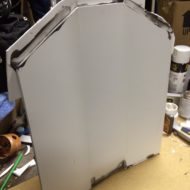
This piece is way oversized. Allowed me to cut this flush.
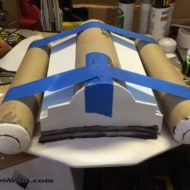
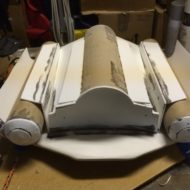
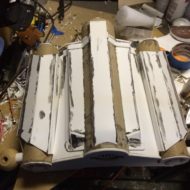
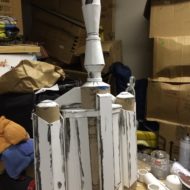
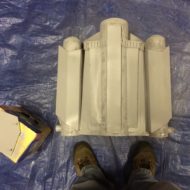
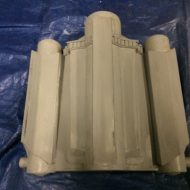
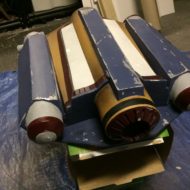
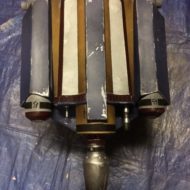
This is a happy moment. It’s really starting to come together.
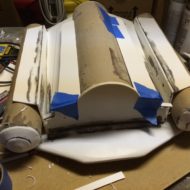
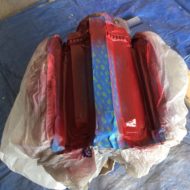
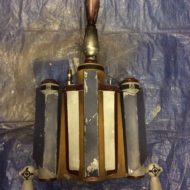
Holding the fuel canisters in place while the glue dries.
Creating an ugly shim to hold up this strip.
I hated the thought of the thrusters being misaligned from one another, so I drilled a small hole through the whole pack and threaded a small piece of dowel through there. The other end of this pvc pipe has a flat end that I capped, and I also put the dowel through there and glued it.
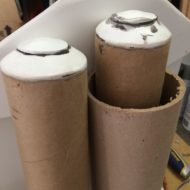
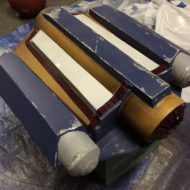
Bottom caps in place and drying.
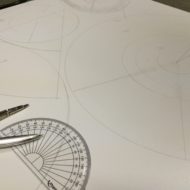
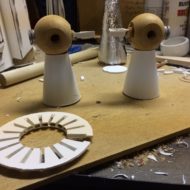
Drawing out the cones. I used an online tool to get the correct angle and radius lengths.
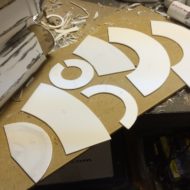
All the cone pieces have been cut out and are ready to form.
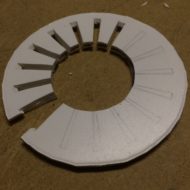
In the process of cutting out vents.
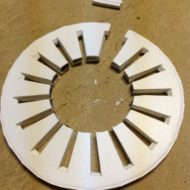
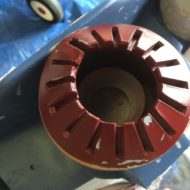
This is probably the most difficult piece in the whole suit. Pretty happy it turned out so well.
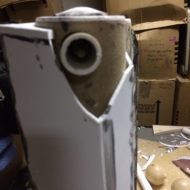
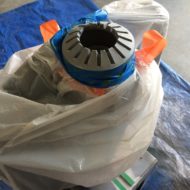
Whether dumb luck or brilliance, I decided to glue a fitting into this cardboard tube. Since I didn’t glue this piece, it allows me to remove the missile thruster for easier transport.
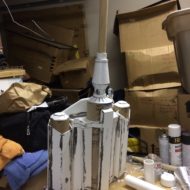
Additional box areas have been roughed out.
I used a clamp to hold this piece in place while I was drilling the attachment location.
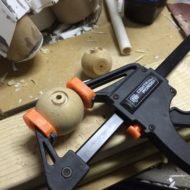
I decided to make these buttons out of four stacked washers of identical size with one small washer in the middle.
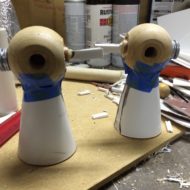
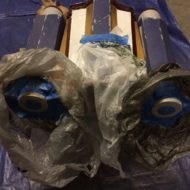
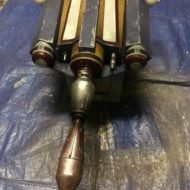
Trusters are ready to glue.
Gluing the thrusters.
Gluing the shaped cones.
Gluing the top vent.
Not too bad. :)
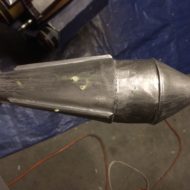
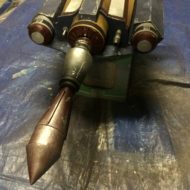
Fitting my missile for the first time. I was so happy until I realized that the bottom cone of the missile wasn’t really the right shape.
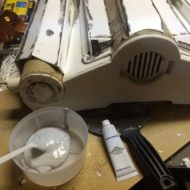
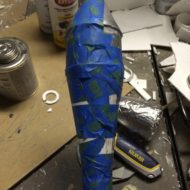
Mixing the Bondo.
Applying automotive filler – Bondo.
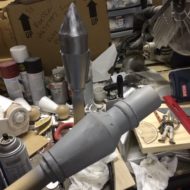
Missile fitted with fins.
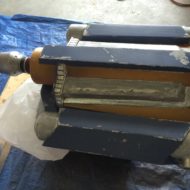
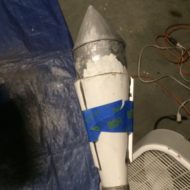
After applying primer to the missile booster.
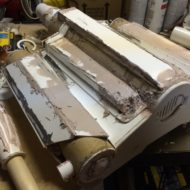
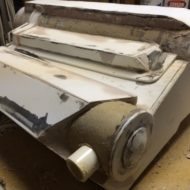
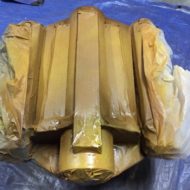
I really needed to do another coat of Bondo, but I couldn’t help myself – I went ahead and sprayed it with primer.
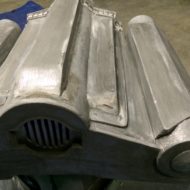
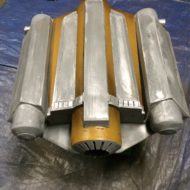
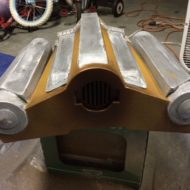
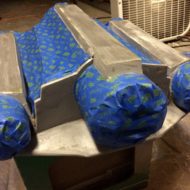
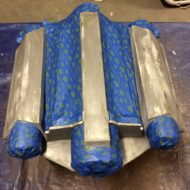
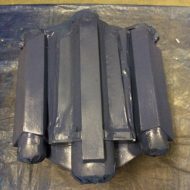
I nearly gave up and started painting everything until I read an article about getting everything smooth beforehand. Though I had already painted a silver coat, I sanded everything smooth. The process left a lot of texture and metal-looking colors, so I was happy to use this as a base.
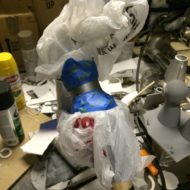
Masking off to prepare for painting the orange areas.
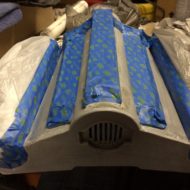
Masking off to paint the blue areas. I also used some liquid mask to paint over the areas where the metal should show through.
Painting blue.
If you look closely, you can see some of the rough areas in the blue. These are the places where I applied liquid mask.
Masking off the area around a stripe.
While the blue was drying, I decided to paint this black stripe
Making corrections to the missile to extend the bottom cone.
I used my fingers to find the masked areas and remove them. So happy with the results!
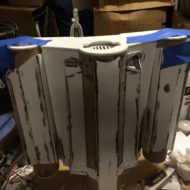
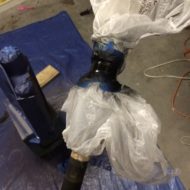
Masking off the whole jetpack so that I can paint the top vents. I also applied liquid mask here.
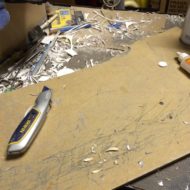
The accumulating mess and debris of my work bench. This was a clean piece of MDF board when I started on the jetpack.
Masking in preparation for painting the red side areas.
This is the part referred to as the stabilizing gyro. I made mine out of a dry-erase marker that I emptied and cut in half.
Painting the gyro.
Painting the top sections of the fuel canisters.
Painting the final light gray sections.
This was another one of those moments when I thought, “maybe I will finish this some day.”
Painting the top of the fuel canisters. The caps have been masked off.
Masking off the bottom of the fuel canisters.
Adding a black stripe to the main tube.
Gluing on the new bottom portion of the missile.
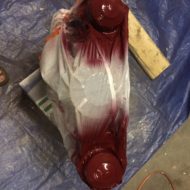
Here, I’ve added stripes and symbol details to the fuel canisters.
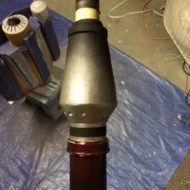
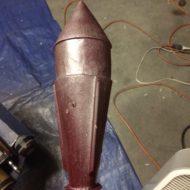
Painting the base coat on the missile.
Adding additional color to the missile. You can see the uneven areas where liquid mask was applied before painting.
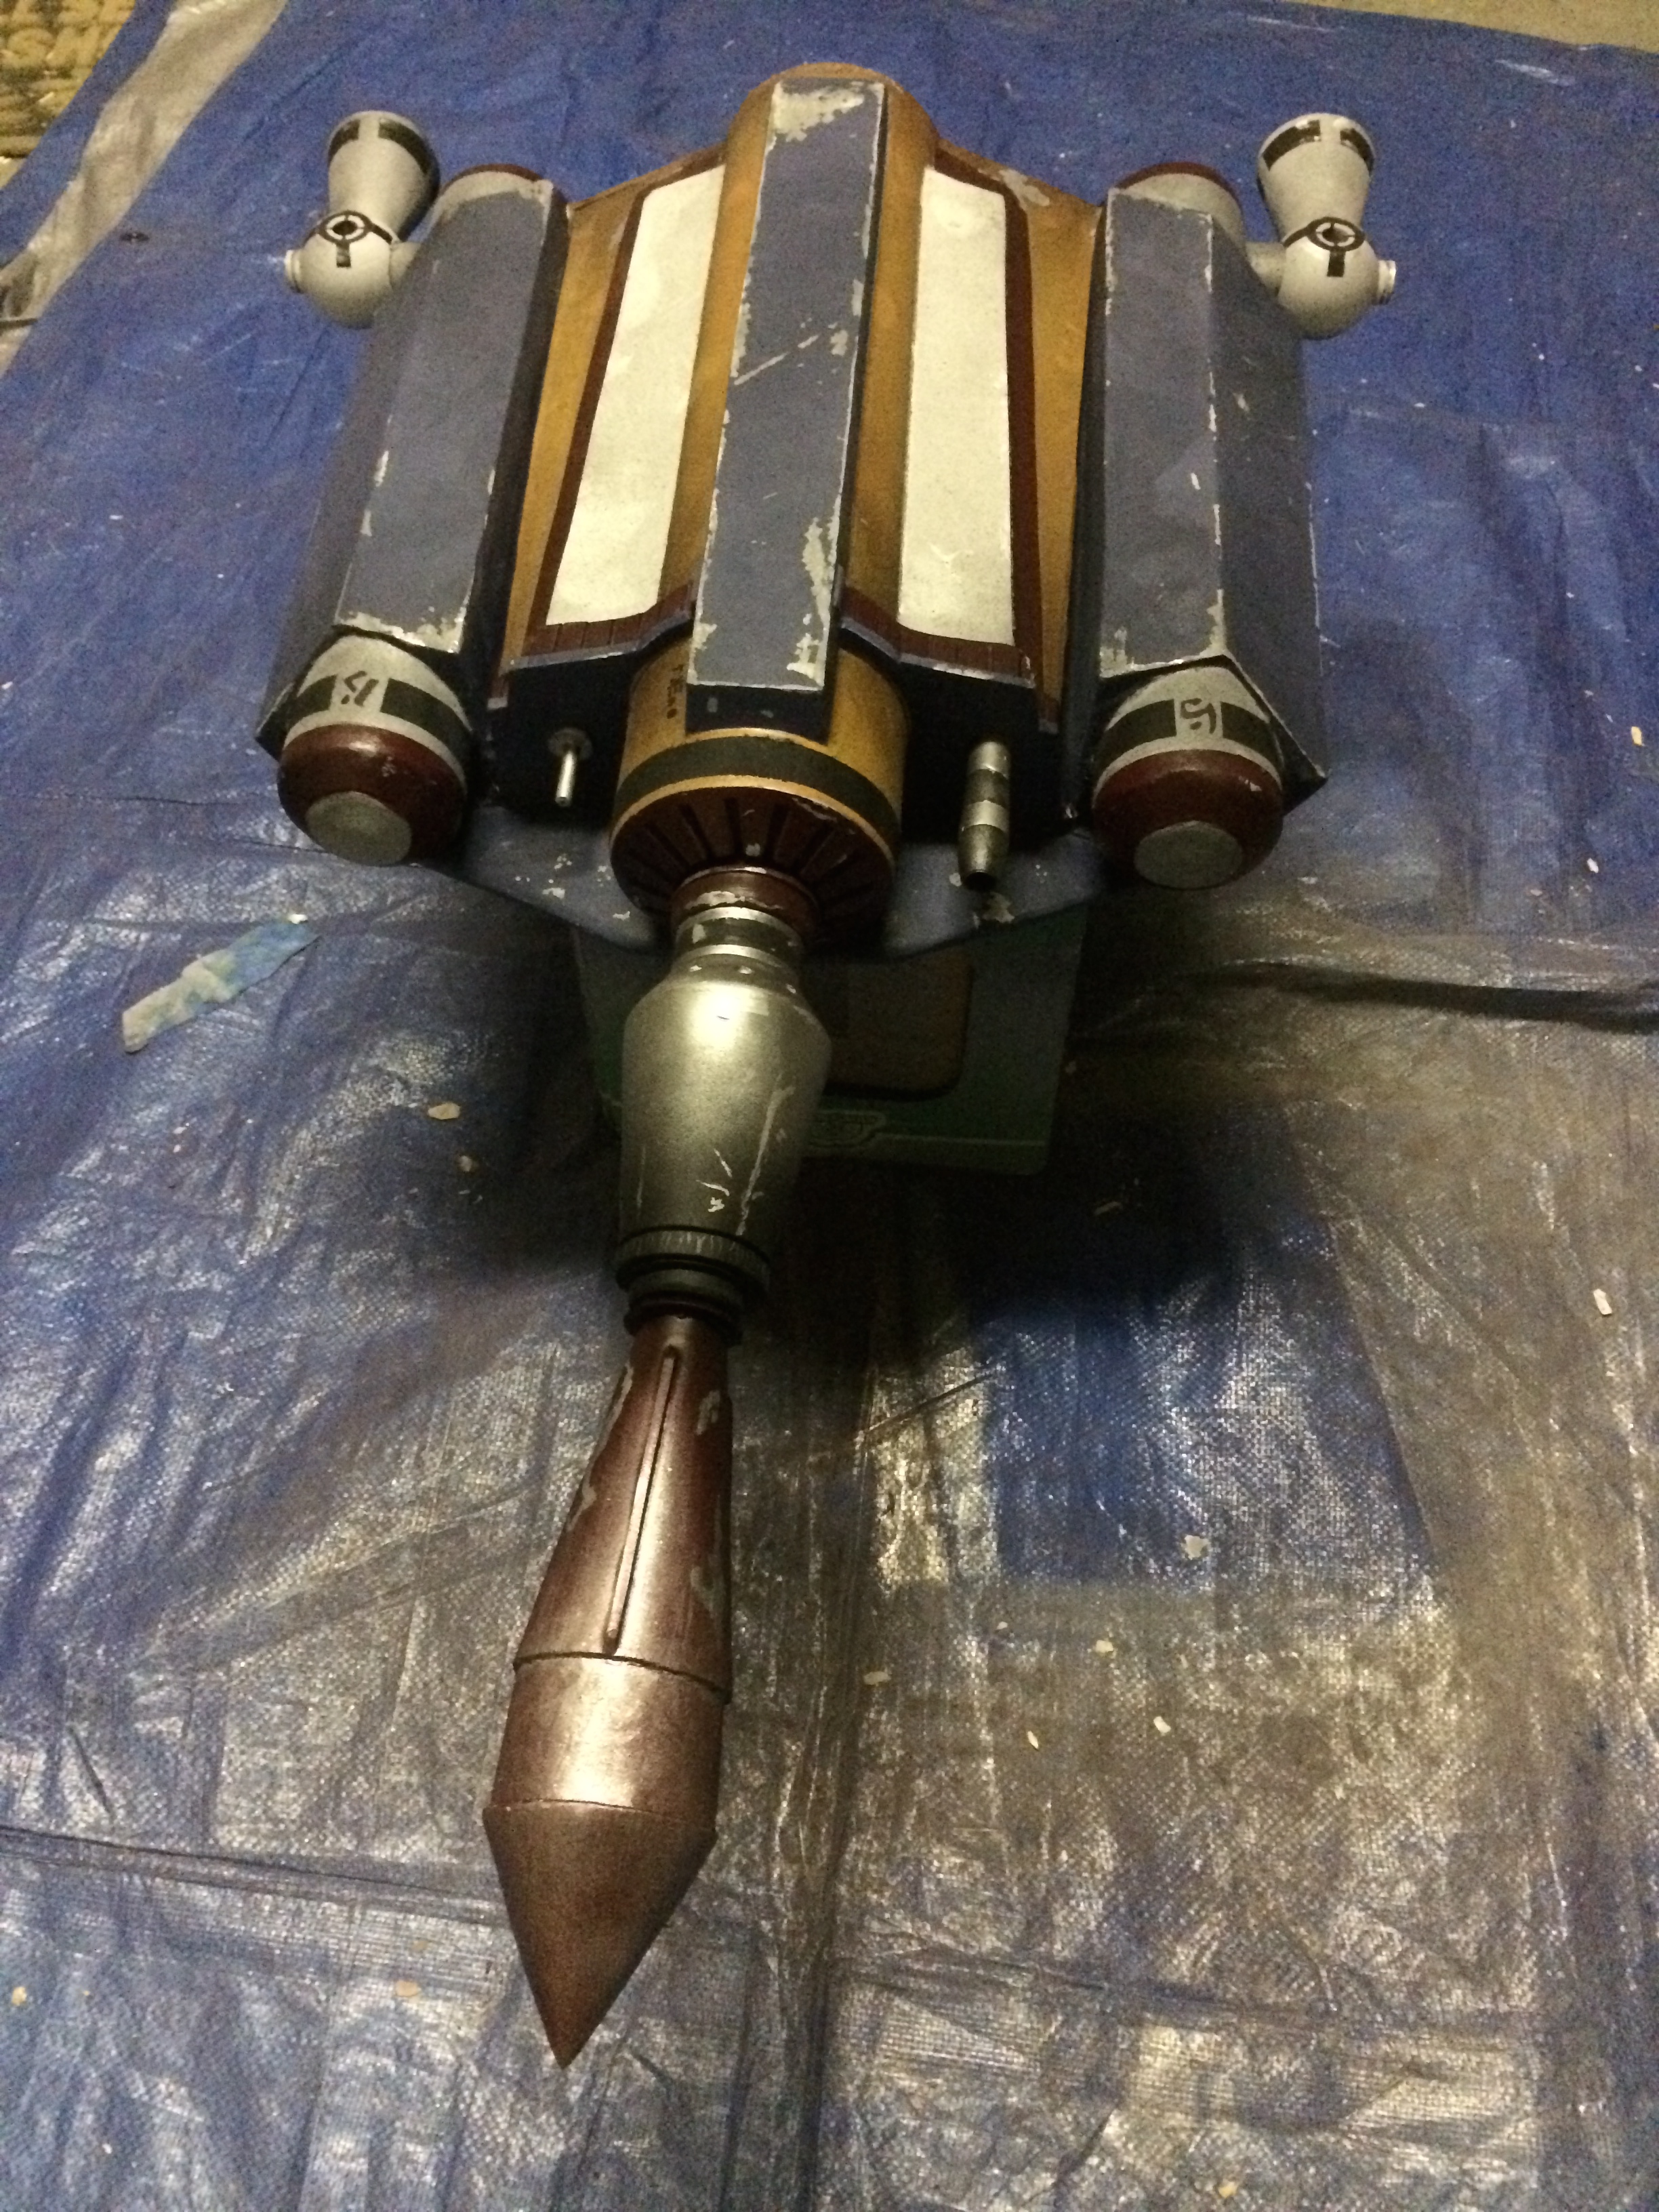
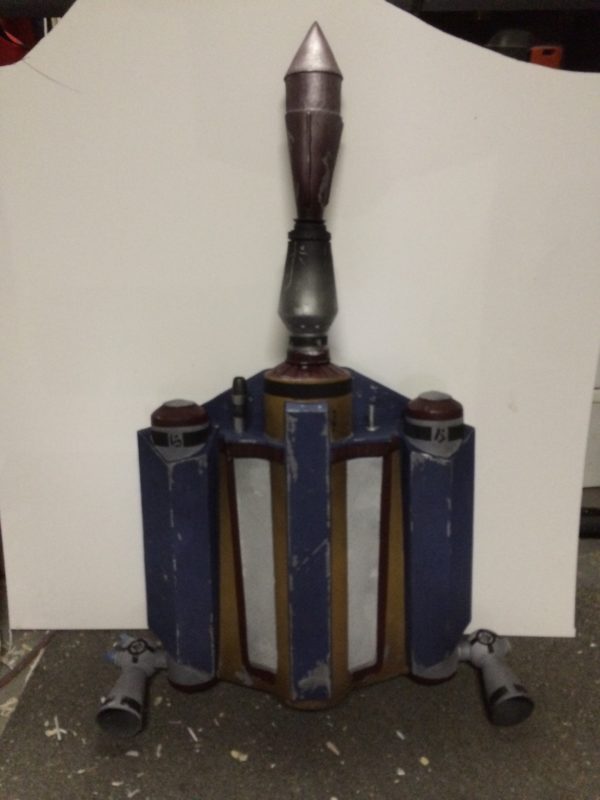
Detail after additional weathering has been applied.
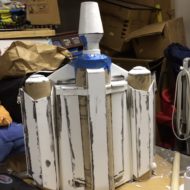
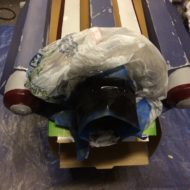
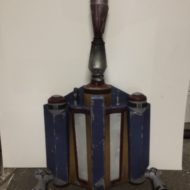
Everything finally assembled together!
For a full writeup, see my full list of instructions on Instructables.
Excellent work! I love the use of low cost materials and techniques anyone can do.
I always thought that a drug dealer would love a missle firing backpack to get rid of drugs if cops spied him. Perhaps a GPS device of some sort to find it again :)
I’m sure it’s been done, estes rocket engine Fett back pack :)
I love this! I just showed my husband who’s a big Boba fan and he was wondering if he were to make this, would it pass standards for the Madelorian Merchs? He and I are joining the Rebel Legion, but he would like to join up with the Merchs too, and if he could make this as part of his costume, that would be awesome!
Sarah, I can’t imagine that this wouldn’t meet their standards. Good luck with those costumes!
Hello,
I’m starting this build from your instructable.
What lengths and diameters of cardboard tubing did you use? I’m confident I can get the diameter from the PDFs but I can’t see how to measure the lengths from the PDFs.
Thank you!
Kimball
Hello, I was wondering about the painting of the jetpack. Did you use spray paint? If so, what brands/colors did you use?
Hey Kyle, I was wonderif you used a template for the pieces you cut gor the jetpack? If so, did you find them on dented helmet? Do you happen to have the link?